Maintenance & Care Tips
Rosa Terrakota Marble is one of the most sought-after natural stones in Chennai, renowned for its warm terracotta hues, unique veining, and timeless elegance. Whether you are revamping your living space, designing a commercial project, or upgrading your flooring, installing Rosa Terrakota Marble correctly is essential for durability and aesthetic appeal. In this guide, we provide a step-by-step approach to ensure your marble installation is flawless.
Why Choose Rosa Terrakota Marble in Chennai?
Rosa Terrakota Marble Marble in Chennai has gained popularity among interior designers and homeowners alike due to its:
-
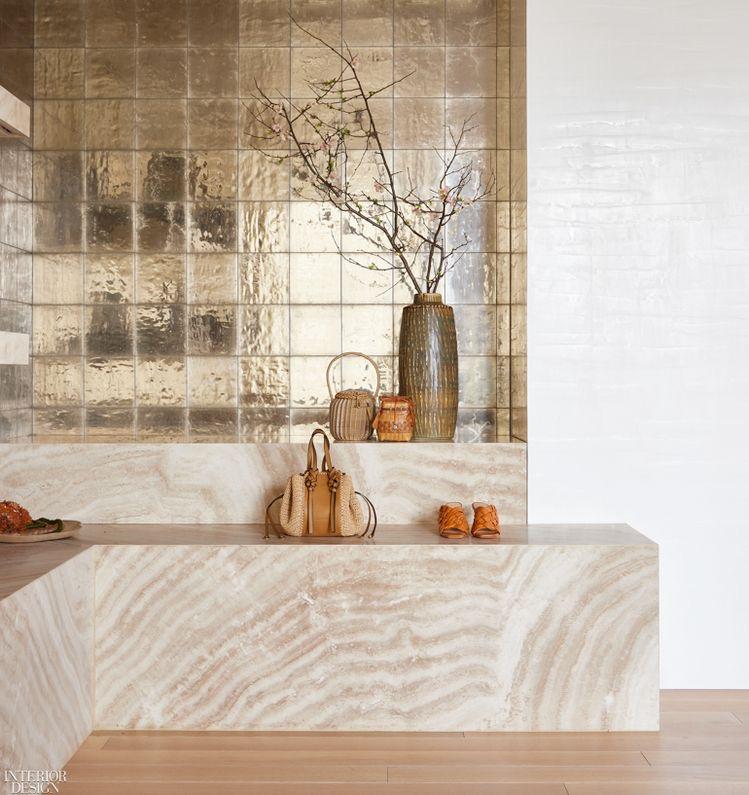
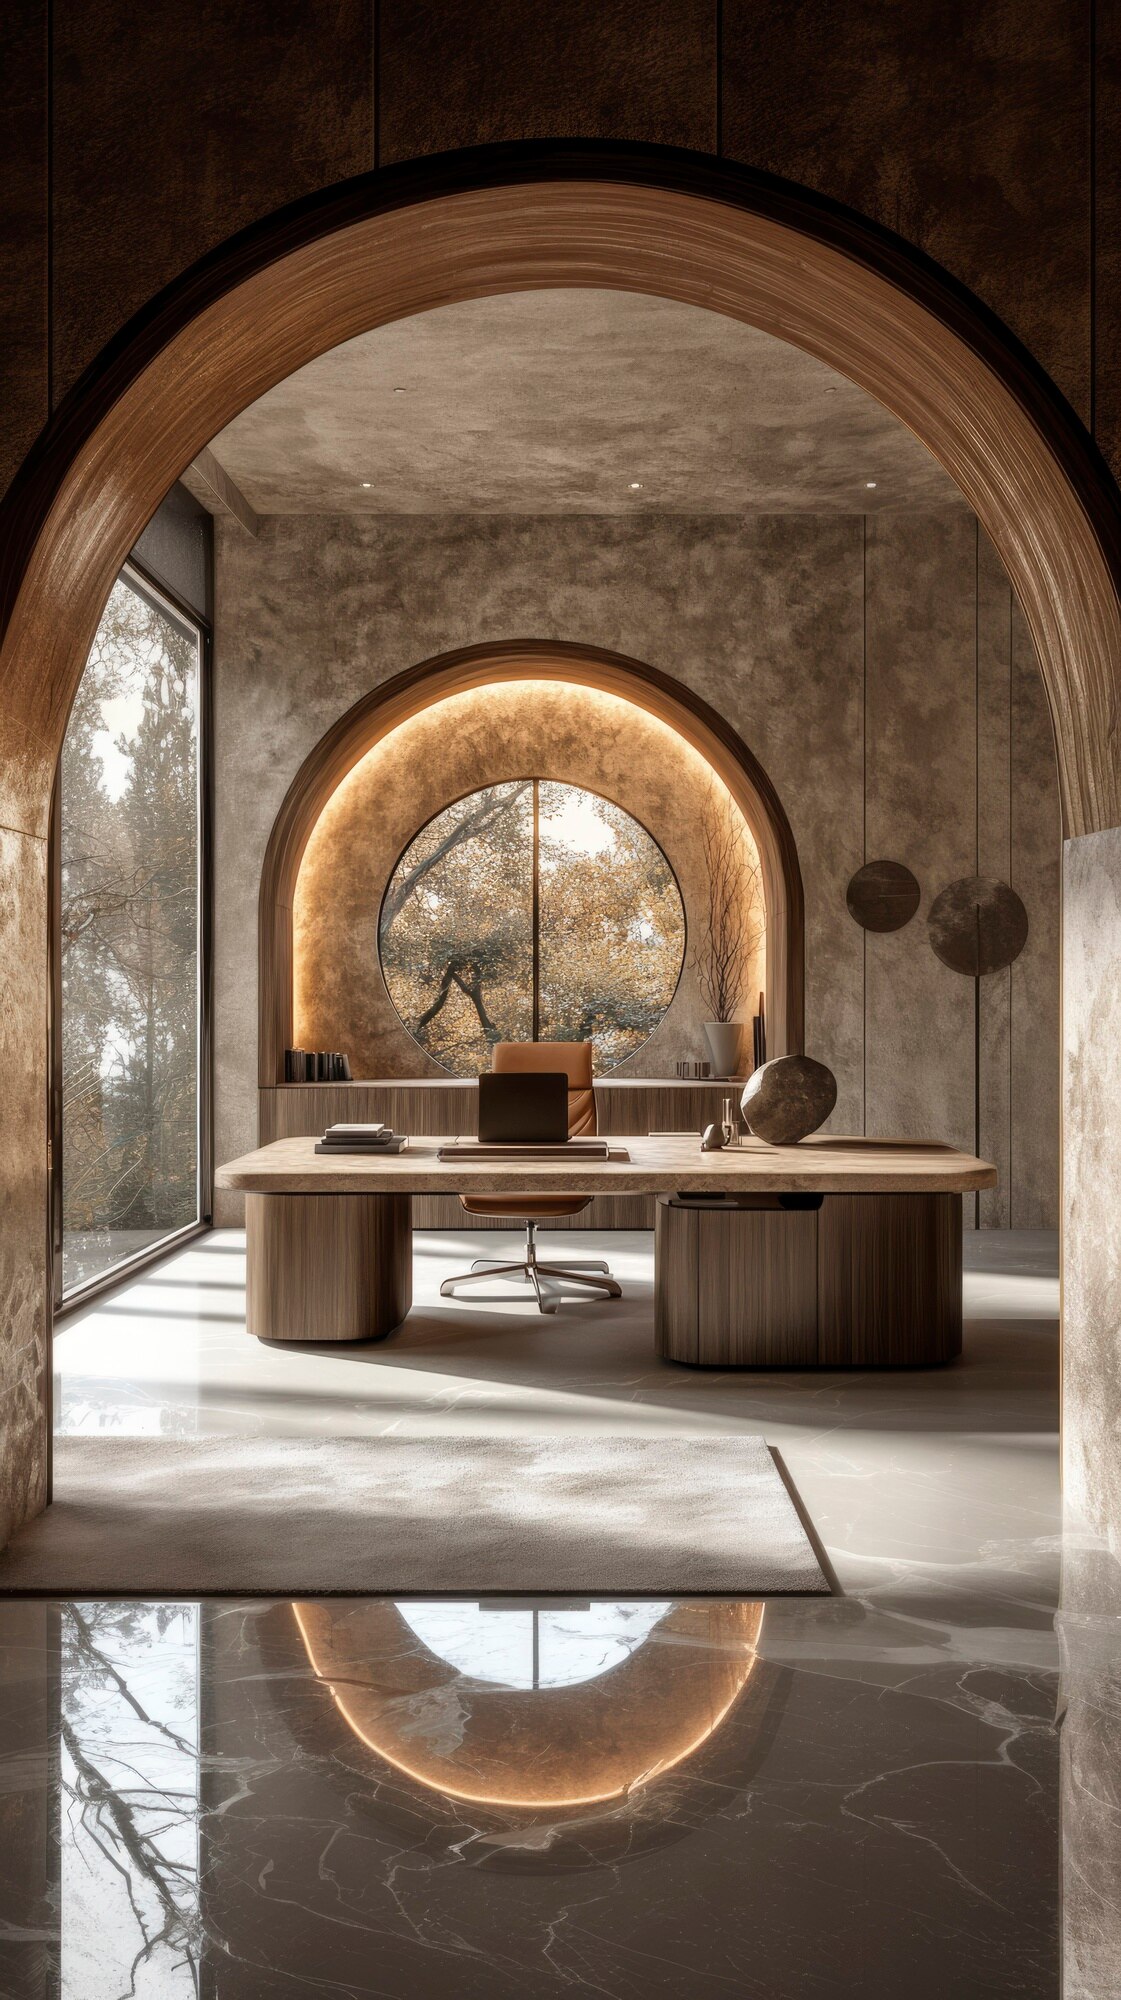
Rich Terracotta Tone: Adds warmth and sophistication to interiors.
-
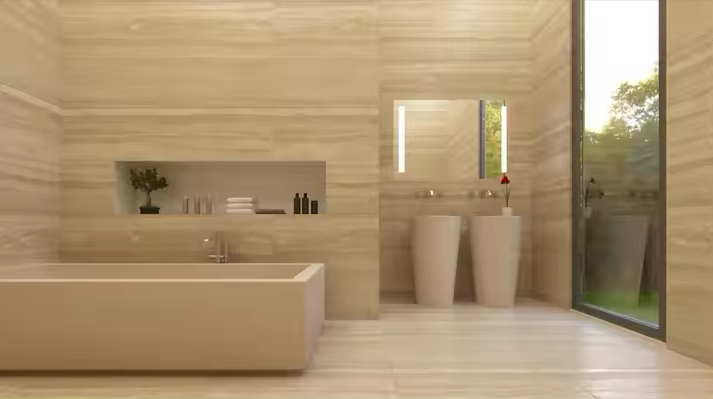
Versatility: Suitable for flooring, wall cladding, countertops, and decorative accents.
-
Durability: With proper installation and maintenance, this marble can last decades.
-
Ease of Maintenance: Smooth polished surfaces are easy to clean and maintain.
Given its rising demand, especially in Chennai’s modern residential and commercial spaces, knowing the correct installation process is crucial to maximize the marble’s life and visual appeal.
Pre-Installation Preparation
1. Measure the Area Accurately
Accurate measurements prevent wastage and ensure that the tiles fit seamlessly. Mark out the layout plan, keeping expansion gaps in mind.
2. Select Quality Rosa Terrakota Marble
Inspect each tile for uniformity in color and veining. Rosa Terrakota Marble Marble in Chennai may have slight natural variations, but quality checks are essential to avoid mismatched patterns.
3. Prepare the Surface
Ensure the subfloor or wall surface is clean, dry, and level. For flooring, a cement-sand screed or adhesive base is recommended. For walls, a reinforced plaster base ensures stability.
4. Gather Necessary Tools and Materials
You will need:
-
Tile adhesive or marble glue
-
Grout and sealant
-
Tile spacers
-
Wet saw or cutter
-
Rubber mallet
-
Leveling tools
Step-by-Step Installation Process
Step 1: Dry Layout
Before applying adhesive, lay out the tiles dry to check alignment, pattern continuity, and color variation. This step helps avoid surprises during actual installation.
Step 2: Apply Adhesive
Use a notched trowel to spread the tile adhesive evenly on the subfloor or wall. Apply only a small area at a time to prevent the adhesive from drying before the tile is placed.
Step 3: Set the Tiles
Place each Rosa Terrakota Marble tile carefully, pressing firmly into the adhesive. Use tile spacers to maintain consistent gaps for grout. Check the level frequently to ensure an even surface.
Step 4: Cutting and Fitting
Cut tiles to fit edges, corners, or around obstacles using a wet saw. Always wear protective gear during cutting to ensure safety and precision.
Step 5: Grouting
After the adhesive sets (usually 24–48 hours), remove spacers and fill gaps with grout. For best results, use a grout color that complements the terracotta hues of Rosa Terrakota Marble.
Step 6: Sealing
Seal the marble surface to protect it from stains, water damage, and wear. Sealing should be repeated periodically as recommended by the supplier or interior designer.
Step 7: Cleaning and Maintenance
Clean the installed marble with a pH-neutral cleaner. Avoid acidic or abrasive products that may damage the surface. Regular dusting and occasional polishing will keep the marble looking new.
Tips from Interior Designers in Chennai
-
Plan the Pattern: Diagonal or staggered layouts can enhance visual appeal.
-
Allow for Expansion: Small gaps prevent tiles from cracking due to natural expansion.
-
Hire Professionals: For larger installations or premium projects, professional installers ensure precision.
-
Maintain Natural Variations: Celebrate the unique veining of Rosa Terrakota Marble for an authentic look.
Conclusion
Installing Rosa Terrakota Marble Marble in Chennai requires careful planning, quality materials, and precise execution. Whether you’re upgrading your home or office, following this guide ensures your marble installation is long-lasting, elegant, and visually stunning. With the right preparation and maintenance, Rosa Terrakota Marble can transform any space into a luxurious, warm environment that stands the test of time.